Being able to "read" a road will make navigating them simpler.

Being able to "read" a road will make navigating them simpler.
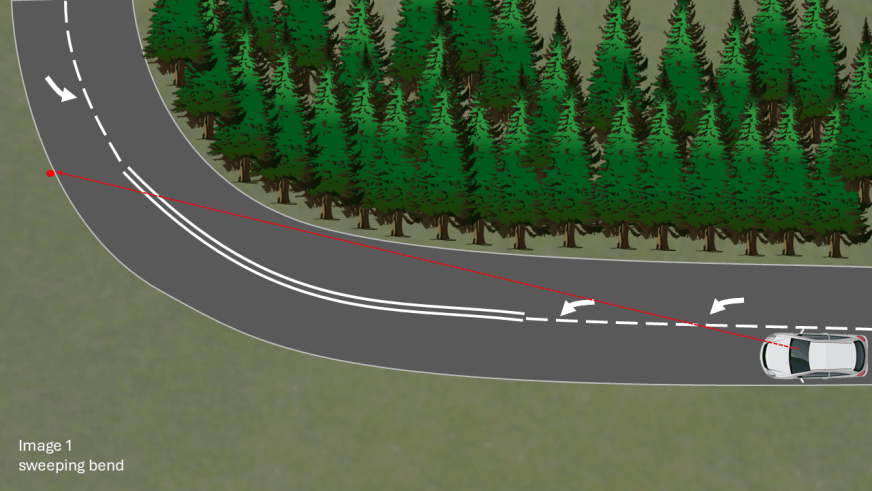
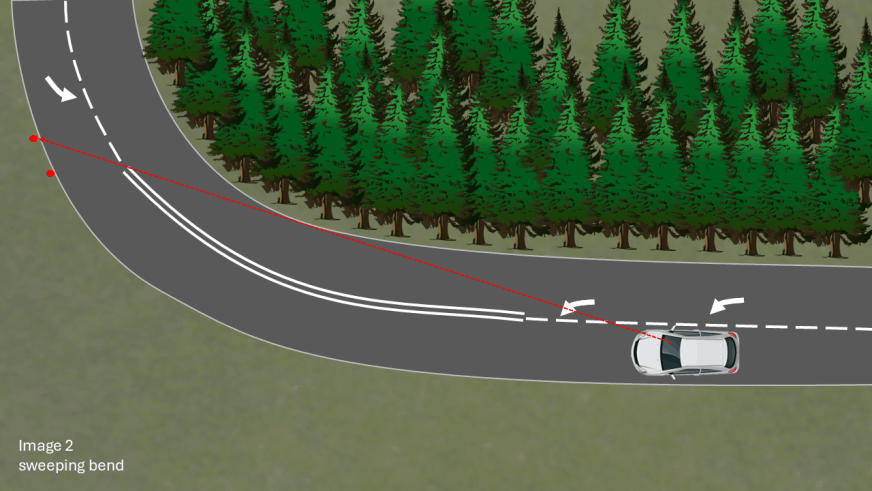
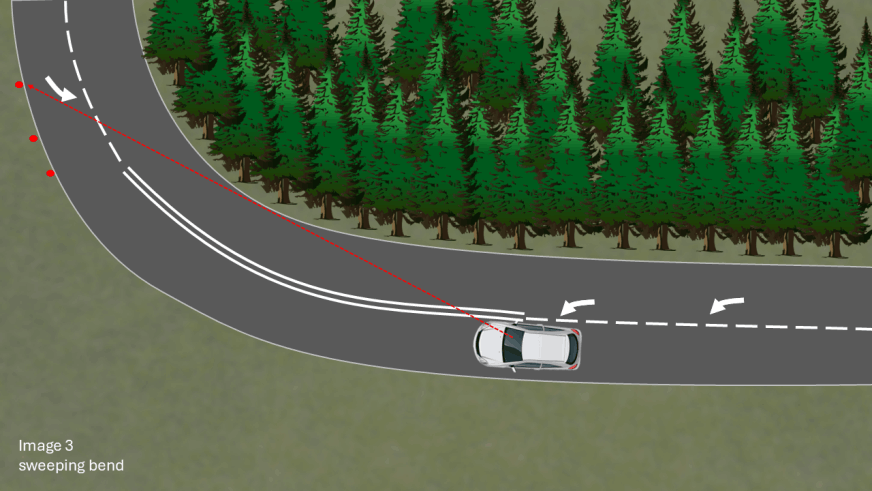
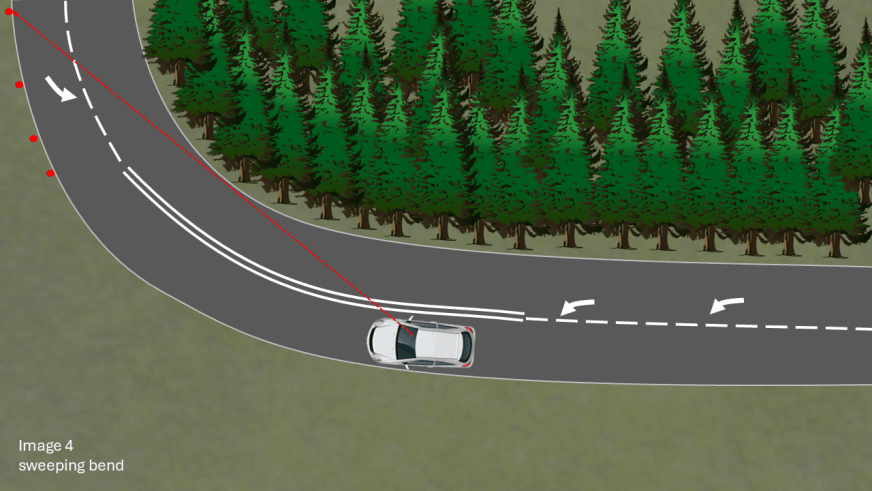
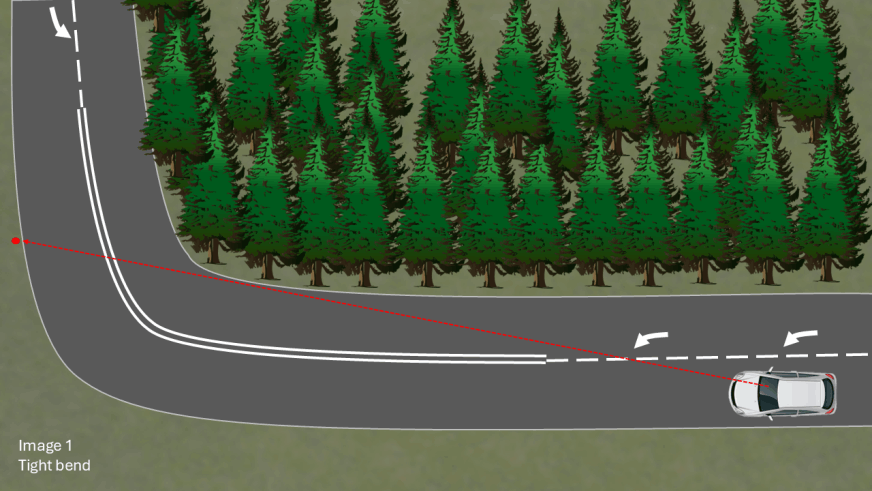
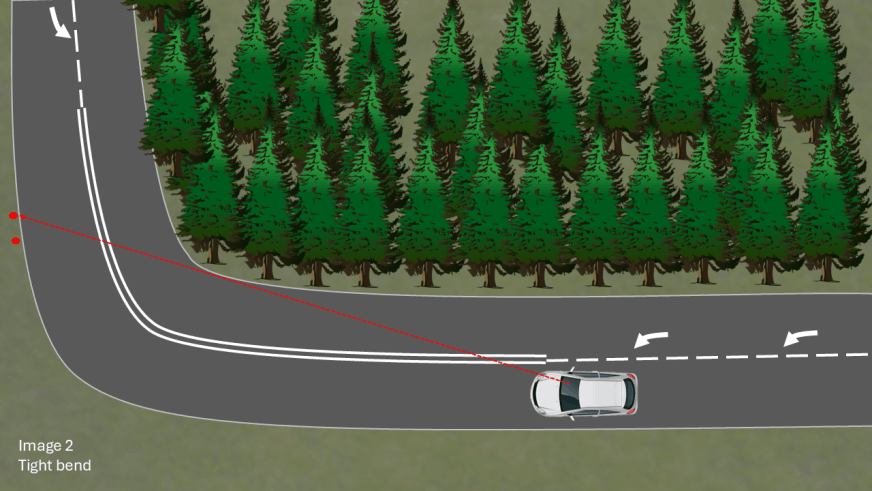
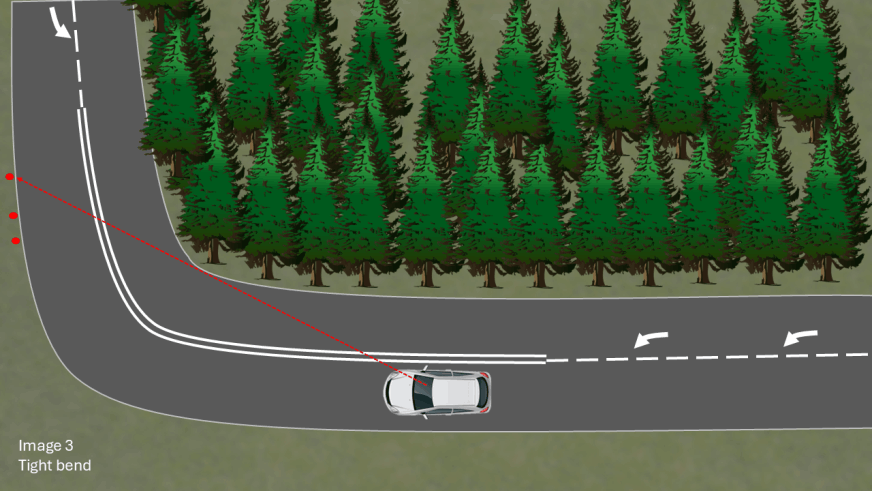
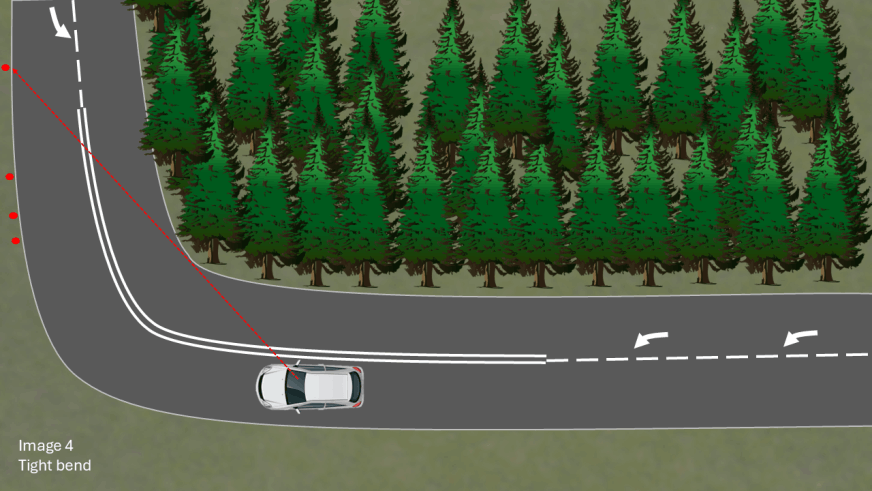
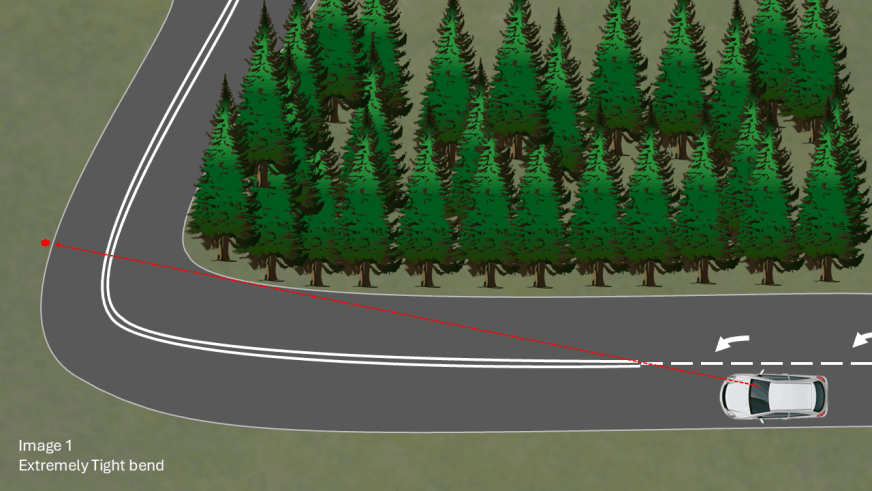
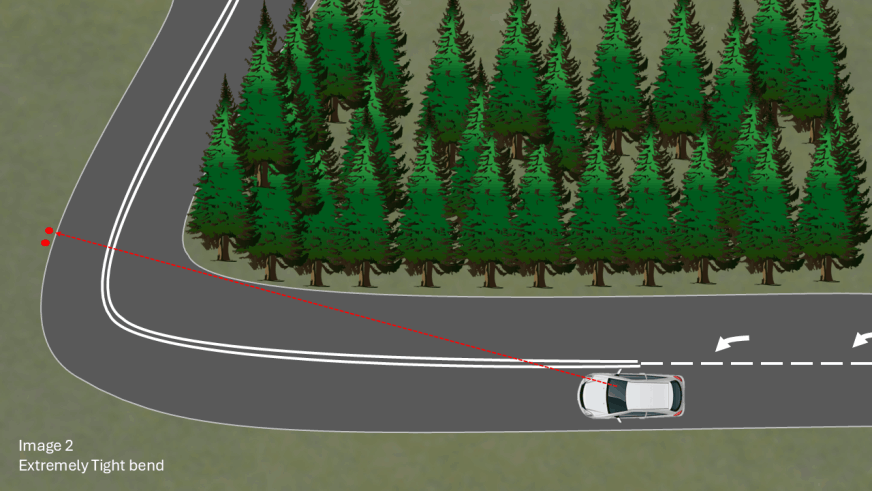
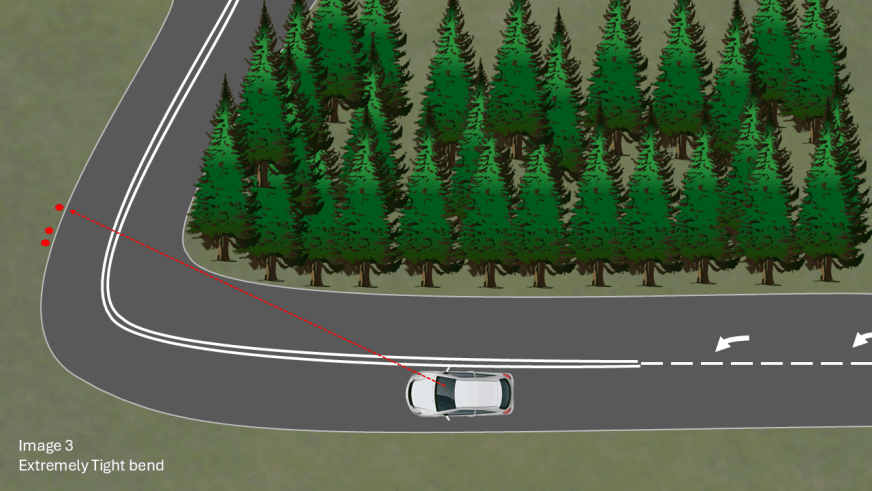
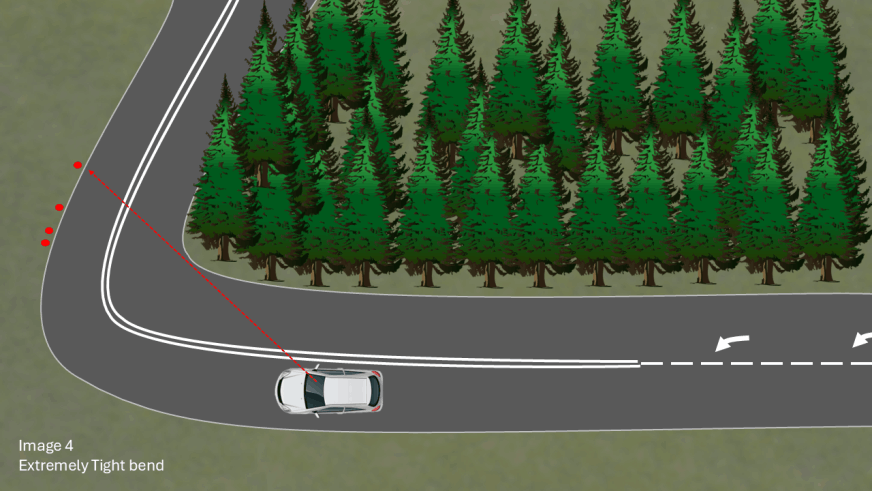
The images above show a clear reasoning as to why you need to learn how to read a road. Linking what you can see ahead of you as well as road markings and road signs, will allow you to make informed decisions about how you are going to approach an upcoming bend.
The biggest factor to consider when looking at these images is the red dots at Image 1 and then at Image 4 on each set.
As you get closer to the bend on each set of images the limit point moves away quicker as you approach a slight bend, but doesn't move very far at all when you get to an extreme bend.
By using limit points you will be able to understand what type of bend is coming up before you get to it.
The less the road "opens up" the tighter the bend will be.
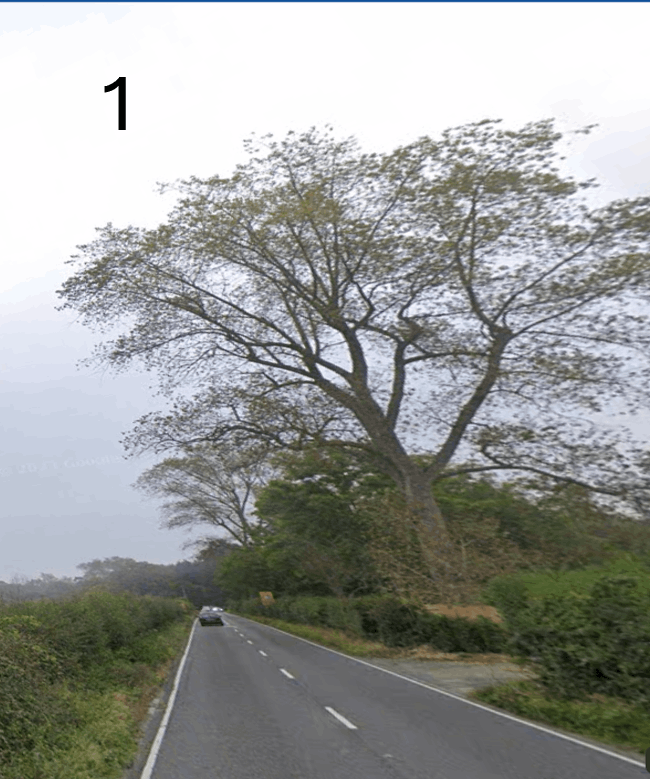
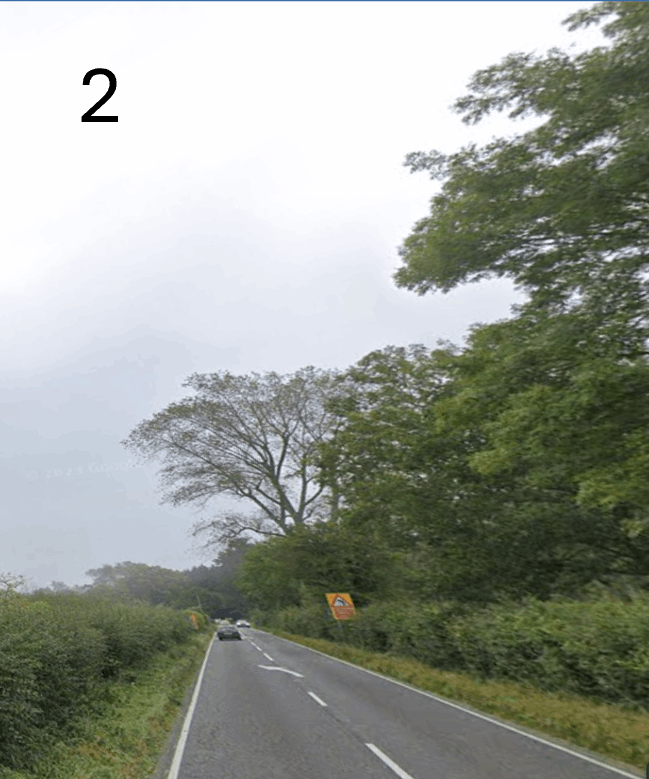
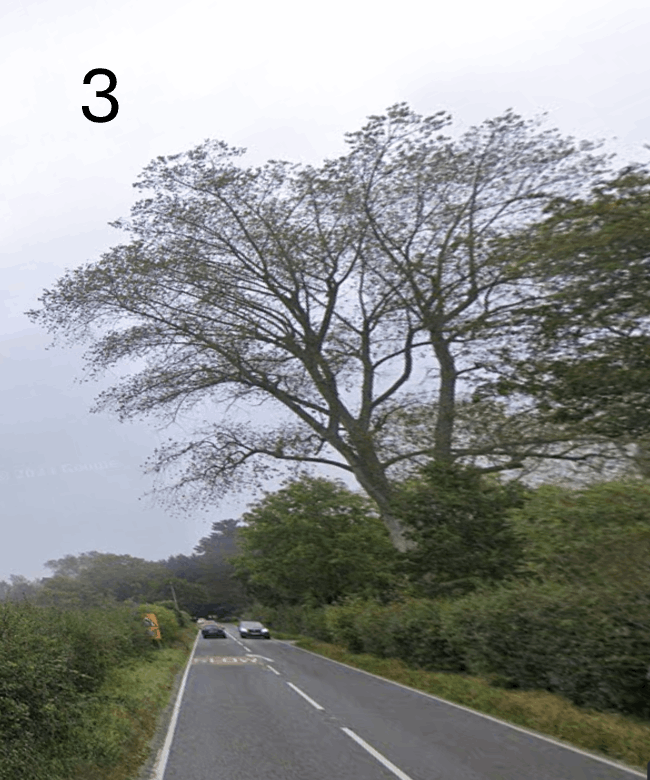
Just some simple, easy to read information from the 12 images.
Image 1. Relatively straight road to start with, but in the distance on the right is a triangular sign (triangular signs are warnings).
Image 2. As you get closer to the sign which is warning you of an upcoming bend to the left you can also now read that the sign says that you should reduce your speed. The centre lines turn to into hazard lines and there is a warning in the form of an arrow on the road to tell you to stay on your side of the road. There is also an additional triangular sign on the left side of the road.
Image 3. The secondary warning sign is now clearer, with a secondary warning arrow, and additionally a SLOW marking on the road. SLOW marked on the road does not necessarily mean slow down, but what it should definitely be taken as is CAUTION! Caution that there is something coming up that is increasing the level of danger on this section of road.
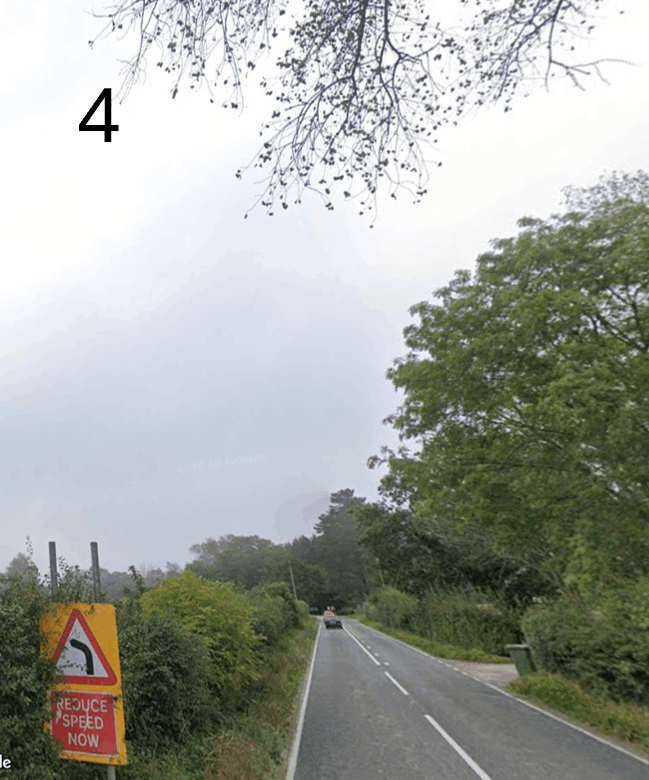
Image 4. A repeater of the REDUCE YOUR SPEED NOW sign and the lane marking are changing up ahead to inform drivers travelling in this direction that they are no longer permitted to overtake.
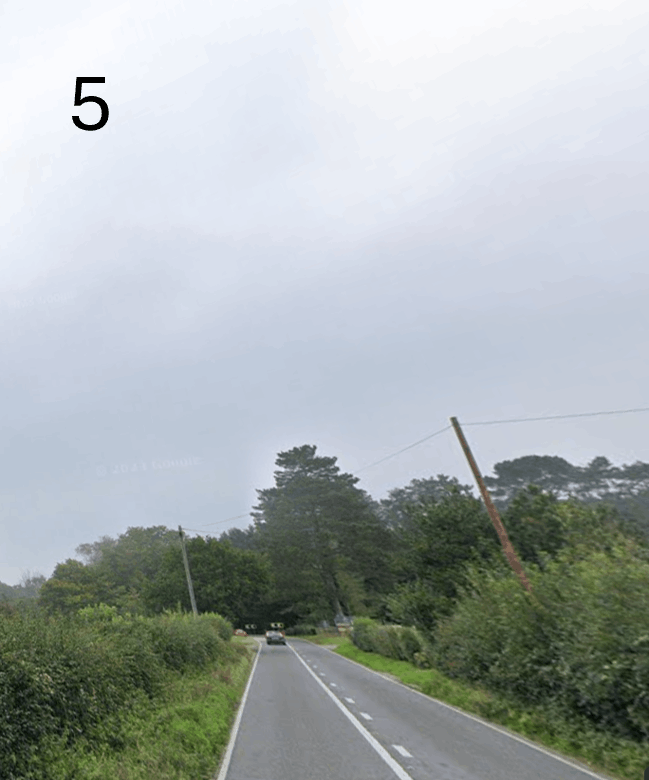
Image 5. In the distance you can see Chevron signs. The Chevron signs are always based on the speed limit of the road you are on. The more chevron signs there are the tighter the upcoming bend will be. If the chevron sign has a yellow banding around the outside edge, it means that there have been a larger percentage of accidents reported on that particular bend that a bend with chevron sign without a yellow banding.
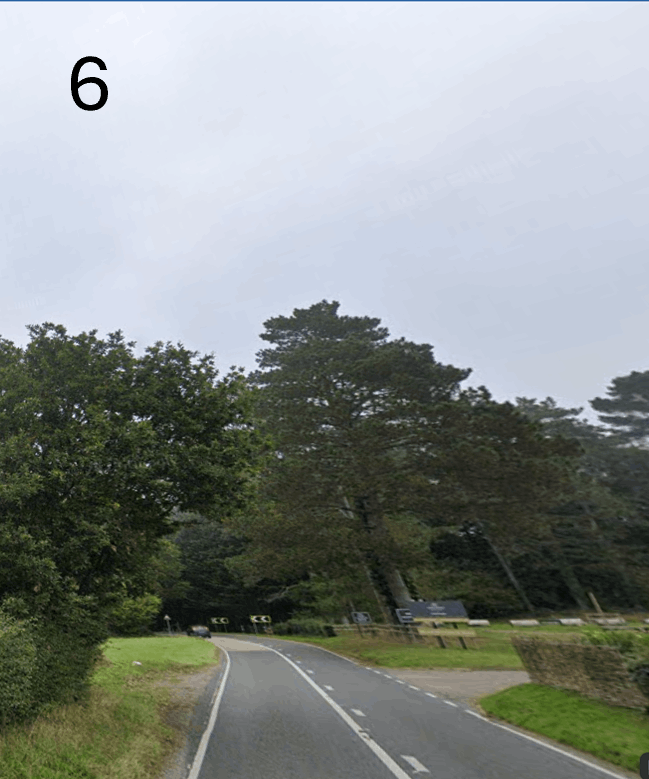
Image 6. You can now clearly see the bend and how tight it is.
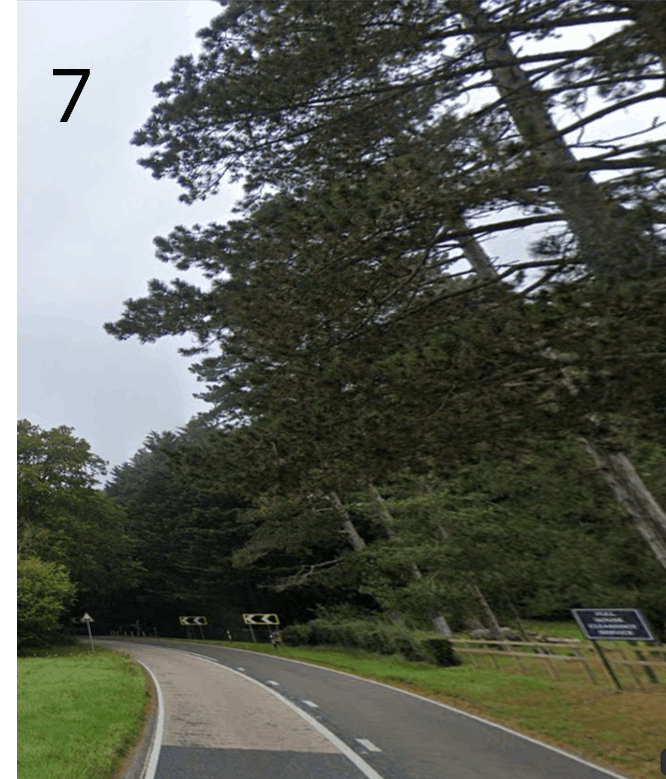
Image 7. The centre lane marking have changed to double solid white lines meaning vehicles in either direction can no longer overtake. There is also another warning triangle on the left informing you that there is a hump bridge up ahead, and hidden within the foliage there is another chevron sign on the right meaning that the bend is continuing.
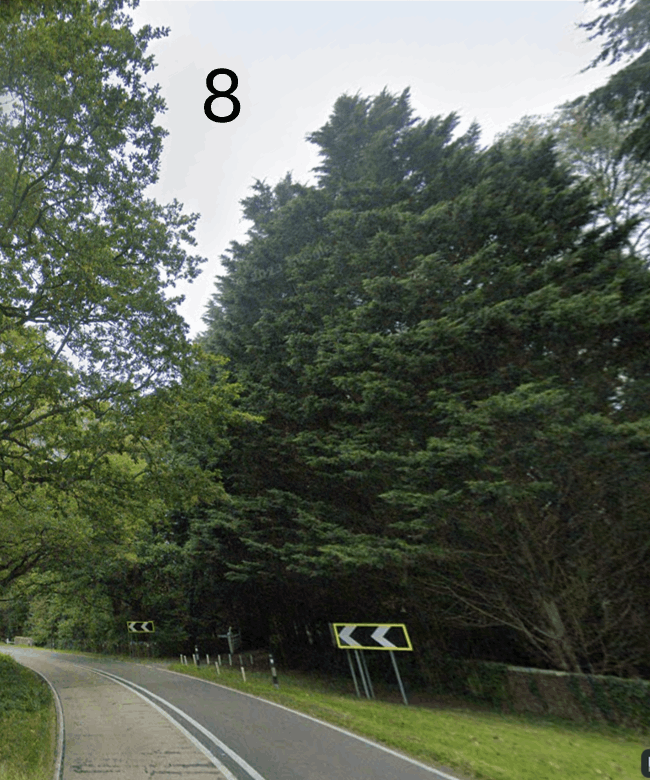
Image 8. The double solid white lines continue meaning the level of danger is still high on this particular section of road.
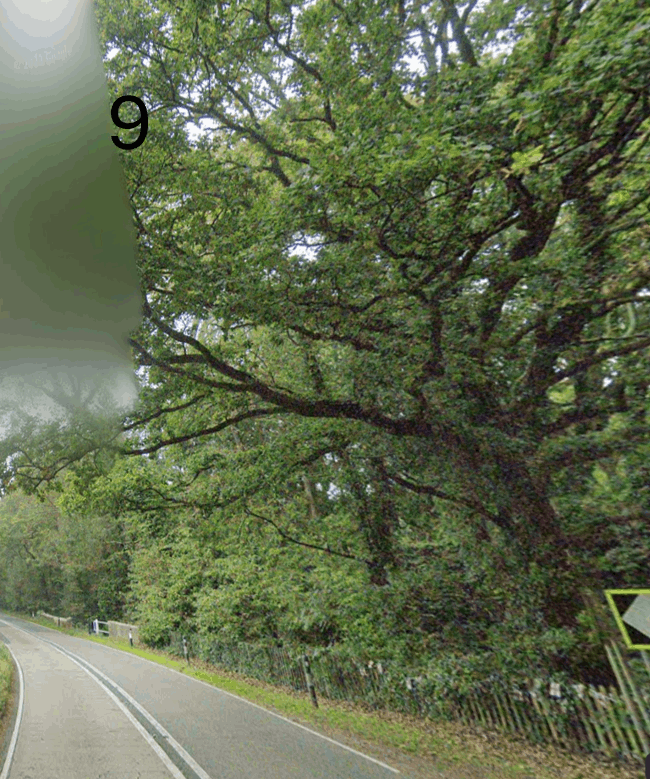
Image 9. The brickwork shows where the hump bridge location is and is highlighted for night time with pillar that have reflectors on them. The level of danger is still high as the double white lines continue.
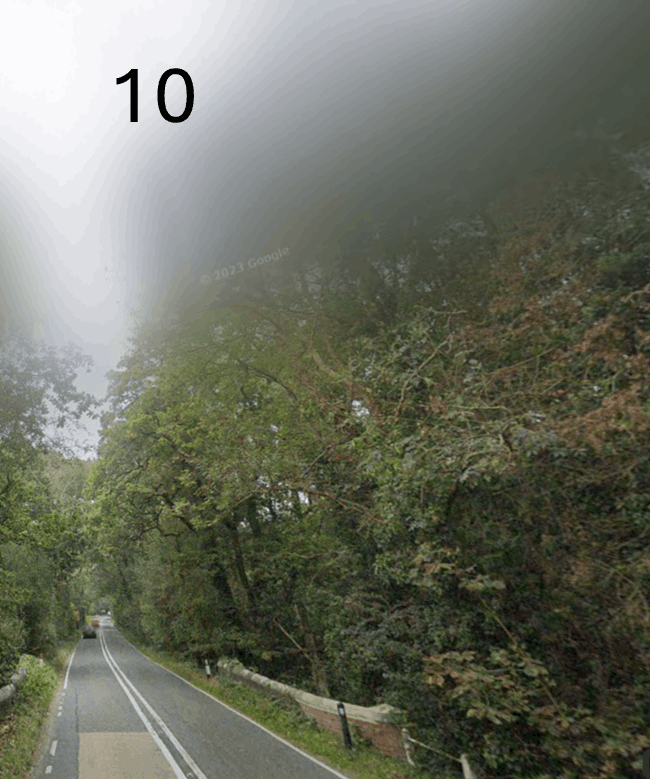
Image 10. It is clear to see that the road straightens up, however, the double solid white lines continue, this means that further ahead the level of danger has not reduced yet and that you should still proceed with caution.
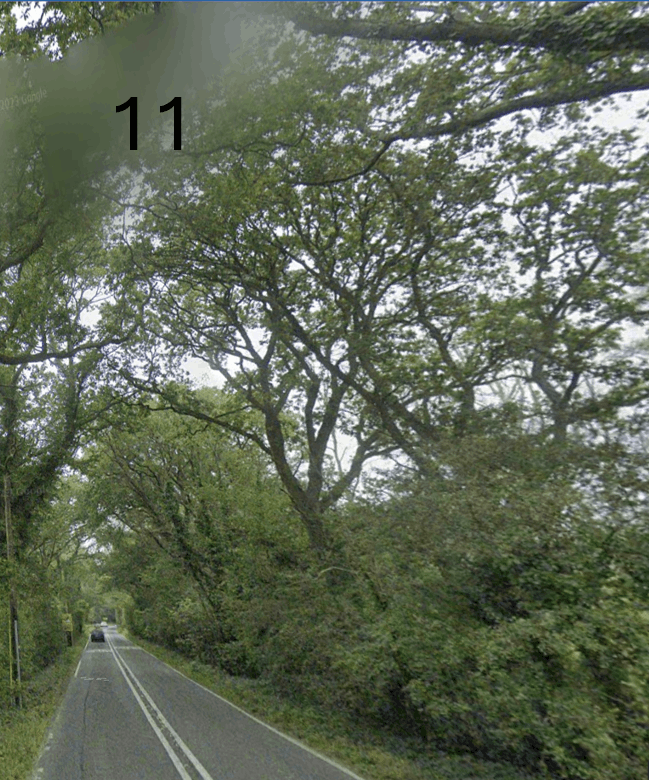
Image 11. Just in sight on the left is another warning sign, which is why the double solid white lines have continued.
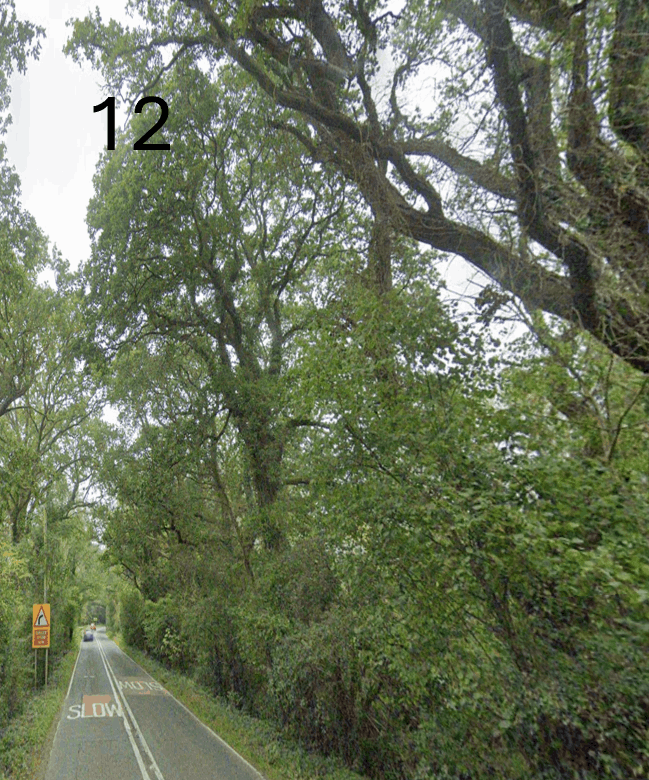
Image 12. As you get closer to the sign it is clear to see that there is now a bend coming up that veers to the right. Again, the bend sign state that you should reduce your speed now and is accompanied by SLOW painted on the road which would mean the bend coming up is probably tight as well.
None of this information is rocket science, but if you don't understand what it means or how you should react to the signs that you see, then it is highly likely that you won't adjust your driving to suit the circumstances. This in turn can become dangerous.
The general rule of thumb is that you should only drive as fast as you can see clear road ahead of you and that you could stop within that distance if you needed to. If you could not stop within that distance YOU ARE DRIVING TOO FAST!